
 Okay, so I wish I’d actually taken photos of the process when I did this little fabric bulletin board project, but alas, at the time I hadn’t planned to blog about it. Luckily, it’s sooo super easy, I know you guys can figure it out with a couple of simple instructions! 😉
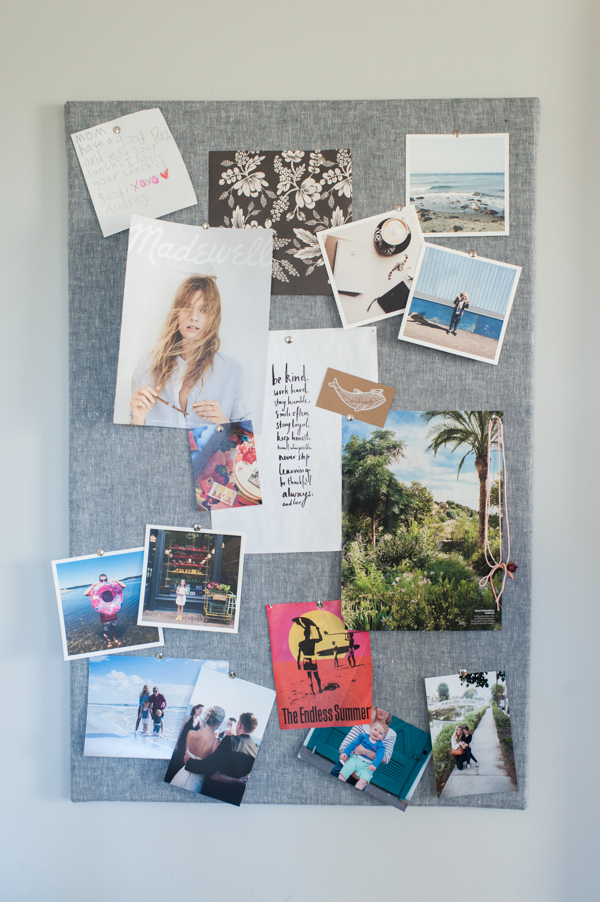
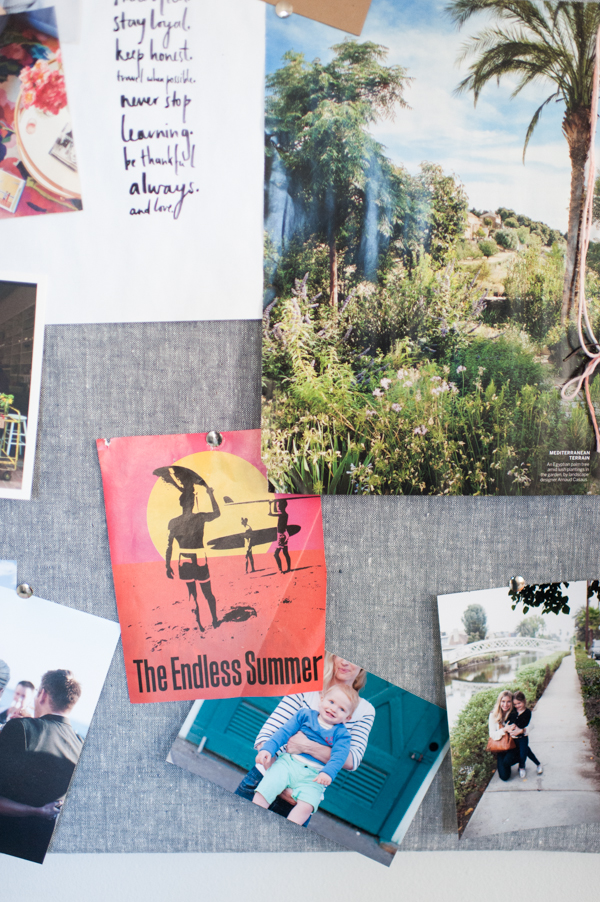
I always have a standard bulletin board at my desk, like this one, but I felt like it could be much prettier. A quick trip to Drygoods Design and about twenty minutes with a hot glue gun later, and I had this beauty!

Here are the easy instructions:
1. Purchase a bulletin board (whatever size your little heart desires).
2. Choose some fabric and buy enough to cover your bulletin board, allowing at least two inches on each side for wrapping.
3. Iron the fabric so it’s wrinkle-free and then lay it flat (right-side-down) on your work space. Place bulletin board face-down on the fabric, and line it up evenly, then trim excess fabric if necessary (remember to allow a couple of inches for wrapping – the exact amount will be vary depending on your particular board, so you can just wrap it, decide how much you need, and then trim).
3. Grab a hot glue gun and a couple sticks of hot glue – plug it in to warm up. (I always put some foil underneath the glue gun to catch drips.)
4. Wrap and glue! My fabric had a very visible grain, so I was careful to keep it in a nice straight line, doing just a few inches at a time with the hot glue. When you reach a corner, glue all the way to the edge, and then start on the next side, layering the corner piece on top.
5. Once you’ve glued all the way around, your work is done! Hang your pretty new bulletin board, and start pinning (literally) whatever inspires you. Bonus points for cute pushpins! 🙂
Photos: Sally Honeycutt
Leave a Comment